D44 Discreet winch mount install |
 |
| TITLE |
+ |
- |
| FILE NAME |
+ |
- |
| DATE |
+ |
- |
| POSITION |
+ |
- |
|
|
550 views
|
|
314 views
|
|
280 views
|
|
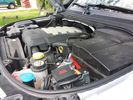
Winch Power upgrade318 viewsUsing 2 warn kits, and removing one of the wires to use on another project. The purpose was to replace the power and ground wire. I used Warn kits, which are 4/0 Welding cable. The original red #4 warped from getting a little too worn. The 2nd
Battery #1 Deka 9A94 AGM Intimidator, Battery #2 Deka 9A47 AGM Intimidator WARN 36080 28" Quick Connect Cable X 2, WARN 26405 Quick Connect Cable 7' X 2, WARN 15901 Black Cable X 1 -- winch control 72" X 1 https://www.facebook.com/DifferentialPartsUS
|
|
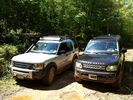
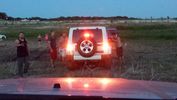
discrete winch mount415 viewsThe D44 winch mount on the trails. Like it on Facebook https://www.facebook.com/DifferentialPartsUS
|
|
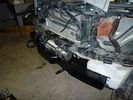
new inner bumper fitted with winch756 viewsD44 Discrete winch mount inner bumper fitted with Warn XD9000 winch. https://www.facebook.com/DifferentialPartsUS
|
|
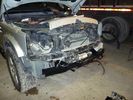
new inner bumper fitted with winch718 viewsD44 Discrete winch mount inner bumper fitted with Warn XD9000 winch.
|
|
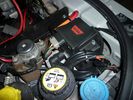
warn winch controller installation613 viewsremotely installed due to space limitations, and to keep the unit dry. Left Hand Drive, fitted in engine bay near washer fluid fill for reference point.
|
|
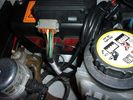
warn winch controller installation543 viewsremotely installed due to space limitations, and to keep the unit dry. Left Hand Drive, fitted in engine bay near washer fluid fill for reference point.
|
|
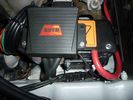
warn winch controller installation568 viewsLeft Hand Drive, fitted in engine bay near washer fluid fill for reference point.Remote control unit fitted on the box. Remotely installed due to space limitations, and to keep the unit dry.
https://www.facebook.com/DifferentialPartsUS
|
|
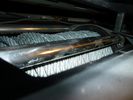
winch as viewed through grill493 viewsnote screwdriver laying behind winch. Winch view fitted with bumper and grill in place.
|
|
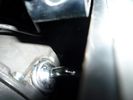
inside bumper view of lever475 viewsView into the bumper of the free spool lever.
|
|
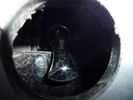
close up of 1 1/4" access hole492 viewsView of the 1.25" inch access hole. You can reach your finger or a screwdriver in this hole to move the lever up or down. It will be fitted with a rubber plug when not in use (and when found).
|
|
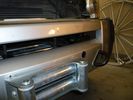
cross view showing access hole503 viewsCross view of the 1.25" inch access hole. You can reach your finger or a screwdriver in this hole to move the lever up or down. It will be fitted with a rubber plug when not in use (and when found)
|
|
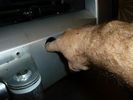
1 1/4" access hole for lever459 viewsAction view of the 1.25" inch access hole. You can reach your finger or a screwdriver in this hole to move the lever up or down. It will be fitted with a rubber plug when not in use (and when found)
|
|
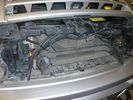
radar detector wires tucked up high426 viewsThe orange ties hold wiring sockets for floodlights (to be installed). Red tie holds excess wire for radar detector.
|
|
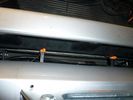
radar detector wires tucked up high412 viewsWires tied up neatly away from the electric motor, spool and gearbox.
|
|
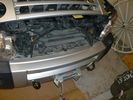
wires tied up tight542 viewsThe Orange ties hold wiring sockets for floodlights (to be installed). Red tie holds excess wire for radar detector.
|
|
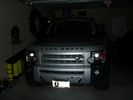
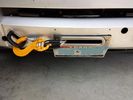
D44 Winch stainless fairlead660 viewsThe completed D44 winch installation, including the stainless fairlead. A stainless trim plate, and NA license plate holder is on the way.
|
|
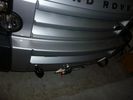
D44 Winch stainless fairlead492 viewsTop view showing the neat and tidy fit and finish, no knee bumpers here.
|
|
|
|