Entertainment System Install |
 |
| TITLE |
+ |
- |
| FILE NAME |
+ |
- |
| DATE |
+ |
- |
| POSITION |
+ |
- |
|
|
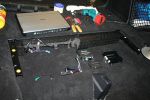
10260 viewsSet up all the controller components in the boot in the unused space available there. The V1000 is ready to be hooked up.
|
|
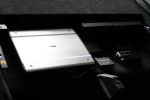
11207 viewsThe controller components are complete and fit neatly within the boot space.
|
|
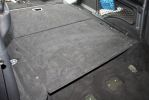
12220 viewsThe boot cover is back in place, hiding away all the controller components.
|
|
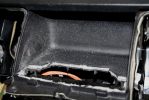
13267 viewsHad to cut the dash a bit in order for the video screen to fit nicely in the spot...ouch.
|
|
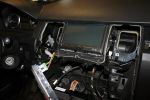
14320 viewsFitting the video screen.
|
|
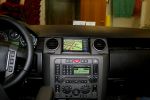
15345 viewsThe finished project.
|
|
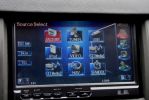
16362 viewsTouch screen menu.
|
|
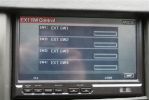
17298 viewsYou can add relay switches to the controller to turn on & off from the touch screen...pretty cool.
|
|
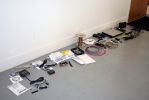
01313 viewsAll the new junk laid out on the floor.
Kenwood KOS-V1000 AV Controller
Kenwood KCA-iP500 iPod Control Interface
Kenwood KOS-L702 Monitor
Kenwood KCA-BT200 Bluetooth interface
Kenwood KNA-G510 Add-on navigation system
|
|
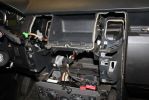
02279 viewsDash center console off and factory head unit out. LR clips suck.
|
|
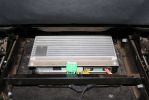
03285 viewsStock amp, underneath passenger front seat. In order to integrate the factory head unit with the V1000 we had to go through the stock amp. This is because of the MOST (fiber optic) connection between the two.
|
|
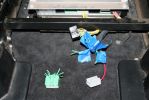
04278 viewsThe green wiring harness is the speaker outputs. Green is + and Green with white stripe is -. We tested all the wires with a 9V battery to figure out which went to what speakers then clearly labeled them as we did.
|
|
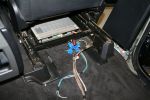
05270 viewsGetting all the wires ready to hack.
|
|
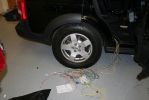
06257 viewsWires from the wiring harness of the V1000 to hook up.
|
|
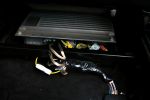
07258 viewsThe factory amp is all hacked and ready to go.
|
|
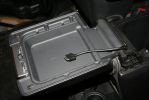
08277 viewsRan the iPod connection up behind and through the center console. I'll be puting an iPod holder in the inside of the console lid.
|
|
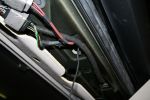
09239 viewsRan the GPS antena up through the rubber gromet in the top center of the boot door jam.
|
|
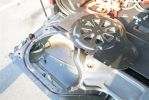
Subwoofer Install276 viewsThe subwoofer and waffle cover removed from the space in the tailgate.
|
|
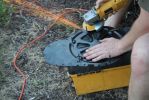
Subwoofer Install235 viewsThe bolts on the waffle are either sealed or welded on. Couldn't get them off with a good hammering, so had to cut them off.
|
|
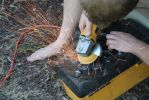
Subwoofer Install238 viewsGrinding & sanding down the waffle ridges gave about 1/4" more room for the new sub.
|
|
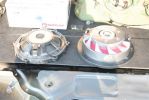
Subwoofer Install268 viewsThe OME sub and the new sub (Pioneer TS-SW2541D)
|
|
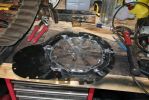
Subwoofer Install247 viewsThe waffle cover all grinded & sanded down.
|
|
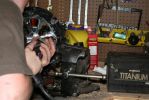
Subwoofer Install224 viewsDrilled new holes in the waffle cover to fit with the new sub.
|
|
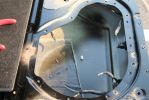
Subwoofer Install275 viewsThe stock sub has 2 sets of wires running to it. Both of these wires lead back to the stock amp.
The new sub only needs two wires - a positive and a ground. So, we just cut the stock wiring harness off the wires in the tail gate and wired them together. On the other end of these wires, we did the same thing.
|
|
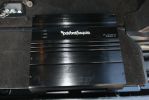
Subwoofer Install246 viewsWent with Rockford Fosgate Punch amp to drive the subwoofer.
|
|
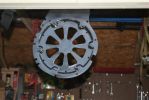
Subwoofer Install244 viewsAfter grinding & sanding it down, painted it black.
|
|
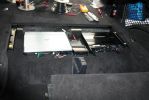
Subwoofer Install271 viewsMoved things around a bit in the "component compartment" to house the amp addition.
|
|
|
|
|