Difference between revisions of "Remove lock button from CTEK plug"
(New page: Here's a way of converting a CTEK plug to be non latching. Helpful for those worried about driving off with a charger attached to the car... == Removing button == You will need a small (...) |
(No difference)
|
Latest revision as of 16:54, 2 October 2013
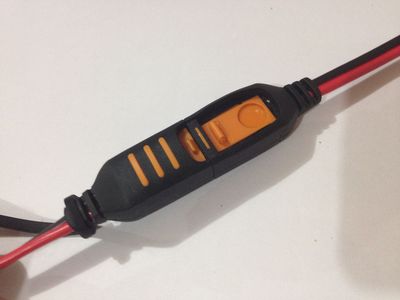
Here's a way of converting a CTEK plug to be non latching. Helpful for those worried about driving off with a charger attached to the car...
Removing button
You will need a small (but not tiny) flat blade screwdriver.
Best off done on the plug used closest to the car, which might be on the end of an extension lead:
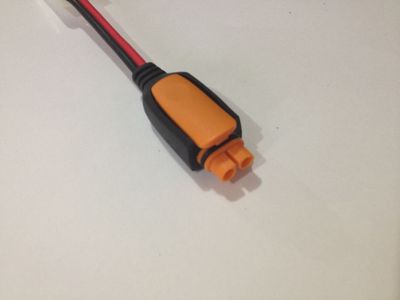
Insert the screwdriver under the edge of the button about 2/3rds of the way along:
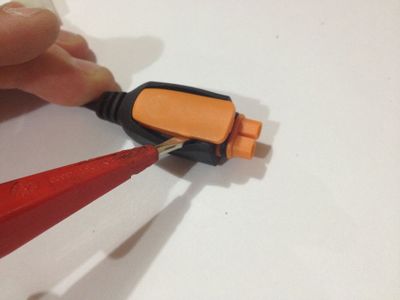
Gently lever the button off the pivot. The button and the pivot are plastic so be careful:
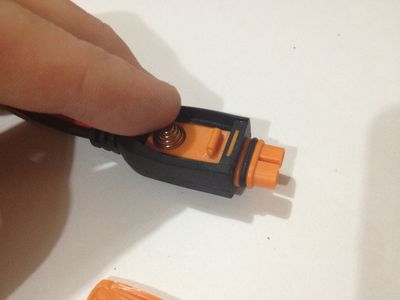
Remove the button and the spring and put somewhere safe:
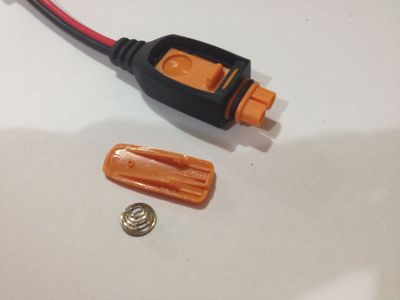
Your plug is now non latching. The plug and socket still fit and hold together perfectly well:
Fitting Button (Reassembly)
To reassemble, first spend 2 weeks hunting down the spring and button :lol:
Put the spring in its seat and push down gently to locate it:

Place the button on the top, locating the peg on top of the spring:
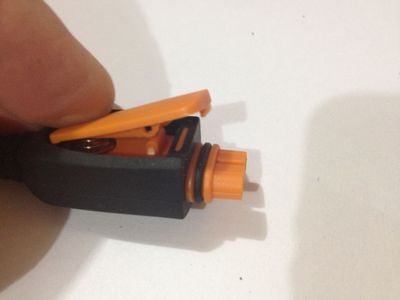
Push down on the button to click it into place on the pivot:
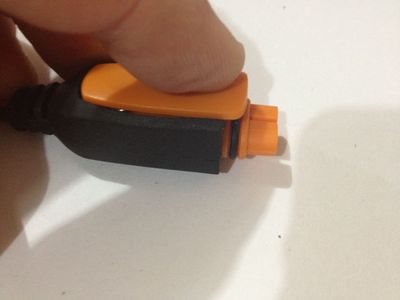
Done!
