| Search results - "gold" |

D5 latest95 views
|
|
Push me pull you120 views
|
|

Please read112 views
|
|

golden eagle17 views
|
|
101 views
|
|
111 views
|
|
NARPY GRILL113 views
|
|
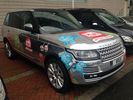
123 views
|
|
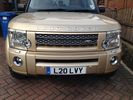
De-Tango116 views
|
|
gold roundabout17 views
|
|
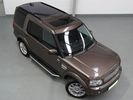
141 views
|
|
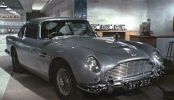
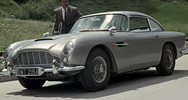
RH Drive DB5 in Goldfinger166 views
|
|
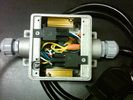
Box open showing Hella Relays and Putco Load Resistors749 viewsInterior of the box - note the two gold coloured 6 ohm 50 watt load resistors are a bit distant from the other items so as to provide some separation for dissipation of the heat generated.
Rather than a moulded plastic weather resistant box which I would have preferred, I used a bulky and much heavier metal weather tight style electrical box so the metal can act as a heat sink.
|
|
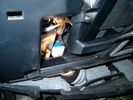
Brake Switch Visible thru Opening4973 viewsThe blue and white bit is the switch; the sort of gold appearing box,(it is really black), you will not see in your 3 as it is a Smooth Talker brand amplifier for my Blackberry phone antenna. This install is detailed in the SmoothTalker phone antenna section of my gallery.
One way to remove and install the switch is to lower the "horizontal" panel above the brake pedal as shown where the flashlight head is located. To actually remove the switch, you slide your hand thru the gap and rotate the switch clockwise 1/4 turn while watching thru the rectangular opening. Installation of the new switch is the reverse of above - 1/4 turn counterclockwise.
Before you remove the switch, note its orientation - horizontal with electrical wires to the left. That is the way it should look after replacement as well.
The second time I replaced the switch, I did it all thru the rectangular opening and did not remove the horizontal panel - that is experience helping out.
The knee kick you have to remove regardless. It is sort of hinged at the bottom so you just pull at the top and sort of rotate the knee panel and then pull upwards for two plastic "fingers" to clear the slots they reside in.
|
|
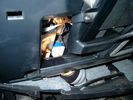
Smooth Talker Amplifier Box mounted below near steering column.179 viewsThe gold look box due to the lighting, (actually black), is the antenna amplifier located near the steering column. It can be put anyway but this seemed an OK location as I ran the antenna connector cable rearward from here to the back corner of the 3 and then up to the underside of the roof glass at the rear. The blue/white thing is the brake light switch that often must be replaced. See the Brake Light Switch file within this Gallery regarding the switch replacement.
|
|
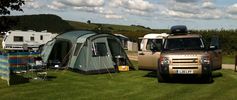
Camping in Devon last year.126 views
|
|
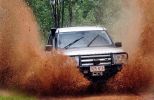
D3 on the Gold-fields Loop South of Darwin, and North of Pine Creek. 67 viewsThis is the middle of January, so is right in the middle of the Wet. Red mud. EPB hates it.
|
|

Gold RRS79 viewsUltimate Bling mobile
|
|

GoldCruise CM25 stalk mounted cruise controller387 views
|
|

Info on how to change the green & gold ovals to silver & black587 views
|
|

Thread upload14 viewsImage uploaded in new thread
|
|
10 views
|
|
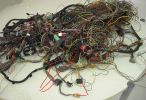
Donar Loom100 viewsThis ball of wires is from a LHD which has been opened and had all audio wires removed, however it is a gold mine for the bits i need. I have pointed out the connectors i know i need for starters near the bottom.
|
|
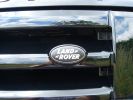
BLACK BADGE\'S229 viewsCHANGE THE GREEN AND GOLD BADGE\'S TO THE VERY NICE BLACK AND SILVER , LOOK VERY GOOD ON THE MOTOR.
|
|
114 views
|
|

100 views
|
|
96 views
|
|
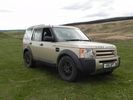
Maya Gold326 views
|
|
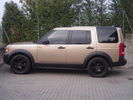
GOLD D372 views
|
|

gold D353 views
|
|
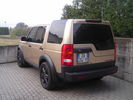
gold d359 views
|
|
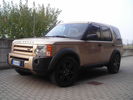
D342 viewsGold D3
|
|
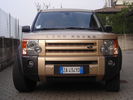
D353 viewsGold D3
|
|
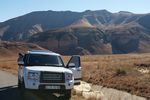
Golden Gate Freestate on the way to Lesotho38 views
|
|
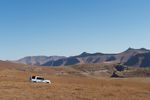
Golden Gate Freestate on the way to Lesotho35 views
|
|
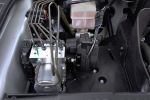
GoldCruise electric activator (on right)406 views
|
|
110 views
|
|

DISCO3 Gold Award149 views
|
|
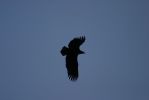
Golden Eagle in Glen Affric119 views
|
|

Thread upload19 viewsImage uploaded in thread 167899
|
|
19 views
|
|
Thread upload20 viewsImage uploaded in new thread
|
|

135 views
|
|

Thread upload4 viewsImage uploaded in thread 152701
|
|
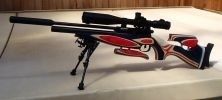
Bsa goldstar11 views
|
|

150 viewsMe out at Goldstone
|
|
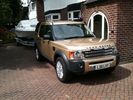
Early Days108 views
|
|
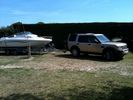
Just arrived in France98 views
|
|
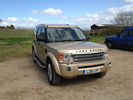
Nearly finished96 views
|
|
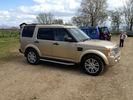
Just needs a few chrome bits94 views
|
|
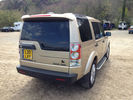
New Lghts and spoiler113 views
|
|
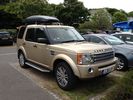
Dorset I Think102 views
|
|

Ready to leave for Spain106 views
|
|

98 views
|
|
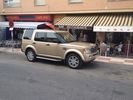
Outside bar in Finestrat, Costa Blanca100 views
|
|
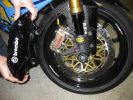
Smaller ones cost more118 viewsIt\'s hard to think that one of the small gold Brembos costs more than the complete set on my D3!!!
Stopping power of both is awesome!!
|
|
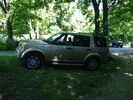
In the trees in Kent90 views
|
|
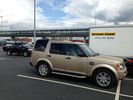
Manchester Airport127 views
|
|
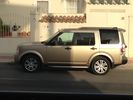
133 viewsSun and Shade in Murcia
|
|
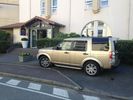
134 viewsOutside Hotel in Biarritz on the way home from Spain
|
|
20 views
|
|
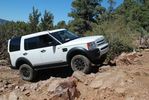
Gold Mountain Trail52 views
|
|
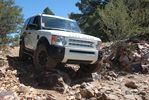
Gold Mountain Trail43 views
|
|
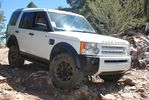
Gold Mountain Trail46 views
|
|
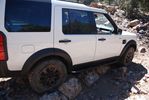
Gold Mountain Trail53 views
|
|
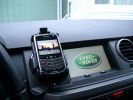
BlackBerry Tour 9630 mounted on air vent265 viewsThe antenna amplifier is mounted lower near the steering column. The amplifier box is painted black but looks sort of gold coloured due to the lighting in the other jpg showing the amp located under/near the steering column.
|
|
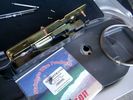
0.032" OD metal fishing leader and lead fishing weight clamped to existing wire rope 2119 viewsI used a size #0 lead fishing weight as a clamp to attach the 0.032" diameter flexible wire rope fishing leader to the release cable.
The pictured weight is the smaller #00 weight, however it did not work very well so reinstalled with the larger #0 size. I clamped to the cable as what breaks is the L retainer that is hidden in the actuator and holds the cable. When the L breaks, it lets go of the cable so you hear the clicking but there is no opening action.
Clamping on to the cable is an attempt to resolve that reality; also if the actuator electrically fails, the release mod should still do the task. Note in the picture the two Torx T15 screws that hold the gold plate to the plastic case and also the two 8mm cap screws that have to be loosened to remove the actuator from inside the door.
|
|
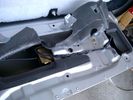
Dust seal cut; note electrical conductors right under dust seal 1627 viewsShows what is underneath when the dust seal is cut. Note the electrical conductors.
I used a box knife to cut the plastic and it was at first easy; then I seemed to hit something and fortunately I stopped - it was the wires - lots of them stuck right to underside of the sticky seal material.
Also shown are the two 8mm nuts in slots that you only have to loosen to release the gold actuator assembly.
|
|
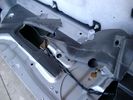
Dust seal rolled back showing electrical conductors 1658 viewsNote power conductors just under the dust seal which makes cutting the seal more interesting.
Also shown are the two 8mm nuts located in slots. One must loosen each nut to effect removal of the actuator. This will then reveal two T15 Torx screws that one must completely un-thread to remove the top gold plate from the actuator assembly.
|
|

352 viewsarticle from Quatroruotte June 2005 - 5 golden stars for offroad
|
|

New steps205 views
|
|
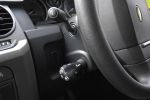
Goldcruise control showing presets, fitted to LHD key blank484 views
|
|
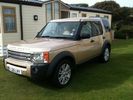
Pwhelli North Wales221 views
|
|
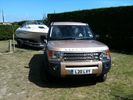
Arrived in Brittany200 views
|
|

Triple Rainbow125 viewsTriple rainbow spotted, last ring is hard to see in picture.
|
|
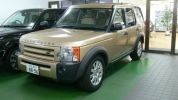
Discovery in Shinagawa240 viewsA Tokyo dealer's demonstrator - HSE Maya Gold V8
|
|

Powerchip Australia - TDV6 Gold Upgrade201 viewsFrom an Aussie company that has advertised in motoring magazines for the last 8-10 years that I can recall. The cost is $AUD1491 (~596GBP). Does anyone know anything about them?
Booklet shows engine chart comparing standard with Powerchip's Gold 'chip'.
|
|
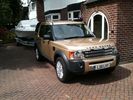
Outside house ready to leave for Brittany 1 car 2 adults 3 kids 1 boat 5 bikes216 views
|
|
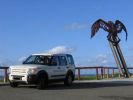
At the Gold Coast192 views
|
|
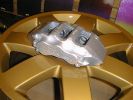
Gold PTFE coated L322 wheel 152 views
|
|
Thread upload4 viewsImage uploaded in thread 152836
|
|
Thread upload4 viewsImage uploaded in thread 201889
|
|
130 views
|
|
|
|
|