| Search results - "ctek" |
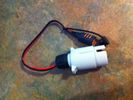
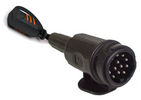
12S plug with Ctek lead attached29 views
|
|

12S plug from eBay and Ctek lead (provided with MXS-10) - before cutting the ring terminals off.28 views
|
|

CTEK Bumper6 views
|
|

XS3600 official user manual172 views
|
|
Thread upload1 viewsImage uploaded in new thread
|
|
Thread upload6 viewsImage uploaded in thread 184382
|
|

59 views
|
|
38 views
|
|

ctek217 viewsctek2
|
|
34 views
|
|

ctek113 viewsctek1
|
|
29 views
|
|
32 views
|
|
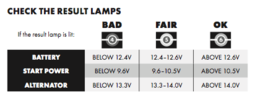
Ctek 5 Test Modes42 views
|
|

Thread upload24 viewsImage uploaded in thread 101107
|
|
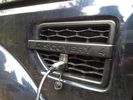
Ctek in intake61 views
|
|
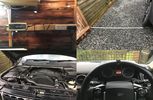
ctek charge system23 views
|
|

Ctek AGM Corrections46 views
|
|

Ctek_Testing_AGM_Batteries_Info_EN35 views
|
|
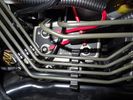
Ctek Smartpass11 viewsSmartpass used as second battery management system and isolator
|
|
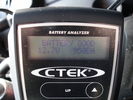
Ctek Tester Results30 views
|
|
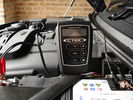
Ctek Tester 126 views
|
|
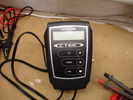
Ctek Battery Tester19 views
|
|
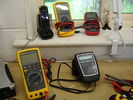
Fluke Amprobe Ctek28 views
|
|

Ctek 10 amperage 125 views
|
|

Ctek 10 amperage 218 views
|
|

Ctek 10 comfort lead25 views
|
|

Ctek Repair 524 views
|
|

Ctek Repair 432 views
|
|

Ctek Repair 336 views
|
|

Ctek Repair 246 views
|
|

Ctek Repair 150 views
|
|
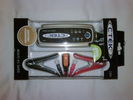
As delivered80 views
|
|
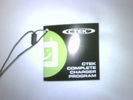
Quick guide65 views
|
|
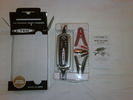
Packaging52 views
|
|
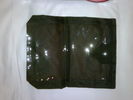
Pouch included - rear54 viewsRear view with transparent pocket
|
|
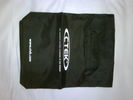
Pouch included - front48 viewsFront side of included storage pouch
|
|
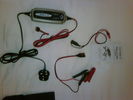
All contents66 views
|
|
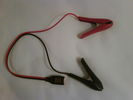
Croc clips58 viewsCrocodile clips with connector without dust/moisture cap.
|
|
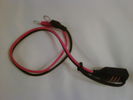
Permanent fixing63 viewsPermanent fixing with eyelet connectors and dust/moisture cap
|
|
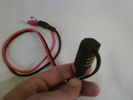
Permanent fixing71 viewsDust/moisture cap on permanent fixing
|
|
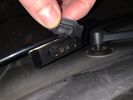
CONEXION 12V , DEBAJO CAPO PARA CARGADOR CTEK8 views
|
|
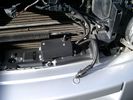
Battery Maintainer switch box and connector 722 viewsThe Hammond box contains a DPDT toggle switch with centre off. The Positive and Negative from each battery feeds to the switch. Depending on the setting of the toggle, (full left, full right,or centre off),the respective batteries connect into the pigtail that can stick out thru the grill when one wishes to connect the charger.
This allows one to charge each battery independently via a suitable battery maintainer. I use a CTEK unit that feeds a maximum of 3.3 amps at 14.4 or 14.7 VDC, depending upon setting. The wiring therefore allows for a slow recharge of either of the batteries separately if either one requires such.
|
|
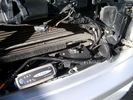
Battery Maintainer switching box plug and CTEK Multi US 3300 charger. 706 viewsThe CTEK Multi US 3300 maintainer is just sitting there for the picture. In addition to topping up both batteries, the CTEK can provide power such that if the batteries were completely dead, there would be power to the door locks and hence, one could most likely still gain access via the remote once the starting battery charged up a bit.
The Land Rover recommended method is via the hidden key hole which is mechanical, however that presumes the mechanism is not frozen from lack of use. As such, the manual lock should be exercised at least once a year to ensure that it still functions.
The blanking plug sitting on top of the plastic box is of the GM Weather Pack series. That is what I like to use for vehicle wiring that is subject to moisture, (or not).
|
|
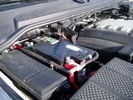
Main starting battery showing 1/2" hole drilled for power cable egress909 viewsView of OEM battery in Left Hand Drive LR3. This is supposed to be a Battery Group BCI 49 or H8 sized battery but in reality is the slightly shorter BCI 94R or H7 battery that fits easier lengthwise, (12 3/8" vs 14").
Note the 10mm hole drilled in plastic of surround to allow for entry of main power cable that runs between batteries. The cable bolts to a spare 6mm threaded hole in the OEM battery cable end; the light gauge wire runs to the front of vehicle to a connector for the CTEK MULTI US 3300 charger. Coloured felts, (red and green), are a material treated to reduce battery post corrosion. The OEM battery ground cable is only about a foot long and runs to an 8mm stud located on the inner fender just to the rear of the fuse case.
|
|

Ctek Fun 154 views
|
|

Ctek Fun 251 views
|
|
42 views
|
|
|
|