| Search results - "Console" |
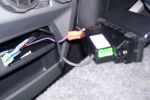
Centre console 12v & aux panel145 views
|
|
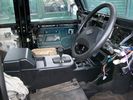
Temporary fit for Centre Console19 views
|
|

D4395 viewsInterior console
|
|

Floor console removal233 views
|
|

instrument panel console removal262 views
|
|

Floor console upper panel removal213 views
|
|
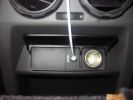
Centre console 12v & aux panel fitted281 views
|
|

75 viewsRemoved console surround trim
|
|
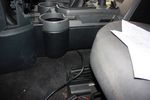
92 viewsStuffing cable under the floor console
|
|
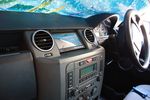
100 viewsScreen in place and console surround back on
|
|
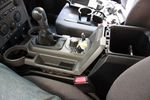
90 viewsLifted floor console upper panel to enable cubby box removal
|
|
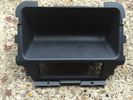
Rear Console trim which i replaced with one with heated rear seats.11 views
|
|
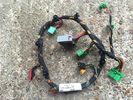
Front Console Wiring Loom AH32-14B079-BC Pic 39 views
|
|
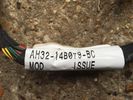
Front Console Wiring Loom AH32-14B079-BC Pic 27 views
|
|
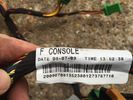
Front Console Wiring Loom AH32-14B079-BC6 views
|
|
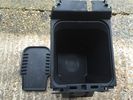
Centre Console Cubby with CD rack Pic29 views
|
|
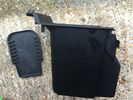
Centre Console Cubby with CD rack9 views
|
|
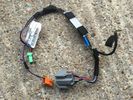
Rear console Loom AH22-14K042-CB - Arm rest for aux audio fridge for fridge14 views
|
|
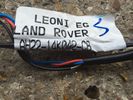
Wiring Loom F Console AH22-14B079-AC Pic36 views
|
|
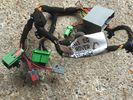
Wiring Loom F Console AH22-14B079-AC Pic211 views
|
|
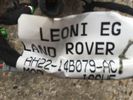
Wiring Loom F Console AH22-14B079-AC7 views
|
|
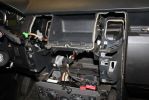
02279 viewsDash center console off and factory head unit out. LR clips suck.
|
|

D4/LR4 501-12-floor console upper panel install instructions / german language72 viewsD4/LR4 501-12-floor console upper panel install instructions / german language
|
|
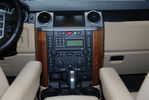
Centre console.43 views
|
|
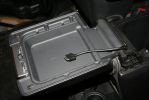
08277 viewsRan the iPod connection up behind and through the center console. I'll be puting an iPod holder in the inside of the console lid.
|
|
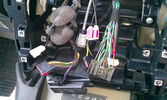
9 views
|
|
9 views
|
|
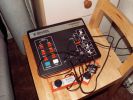
Latest ebay purchase a genuine 1977 Binatone Mk4 Games Console178 views
|
|
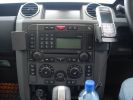
Brodit centre console mounts371 views
|
|
88 views
|
|

Centre Console - back202 views
|
|

Thread upload6 viewsImage uploaded in thread 68494
|
|

Interior Trim268 views
|
|

Interior Trim367 views
|
|
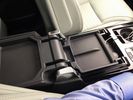
Thread upload20 viewsImage uploaded in thread 161913
|
|
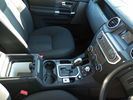
Thread upload1 viewsImage uploaded in new thread
|
|

Thread upload2 viewsImage uploaded in new thread
|
|

Thread upload5 viewsImage uploaded in new thread
|
|

Thread upload3 viewsImage uploaded in new thread
|
|

Thread upload8 viewsImage uploaded in new thread
|
|
8 views
|
|
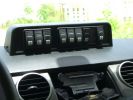
Mud UK switch binnacle453 viewsToo many switches for the roof mounted console, so this binnacle from Mud UK (desigend for the Defender) is an almost perfect match for the leather finished dash in the LR3. Switches, connectors etc bought from them too. From L - R switch functions are:
LH side mounted rack lamps
Driving lamps rack mounted
Spot lamps rack mounted
Bumper mounted driving lamps
RH side mounted rack lamps
Warn winch isolator
Rear mounted rack lamps (reversing)
Telescopic work lamp (fitted behind RH spare wheel)
|
|

111 views
|
|
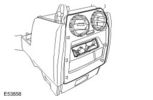
Thread upload14 viewsImage uploaded in thread 146436
|
|

Thread upload37 viewsImage uploaded in thread 132594
|
|

Thread upload2 viewsImage uploaded in new thread
|
|

Thread upload3 viewsImage uploaded in new thread
|
|

Thread upload11 viewsImage uploaded in new thread
|
|

9 views
|
|
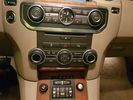
Thread upload5 viewsImage uploaded in thread 176204
|
|

Thread upload11 viewsImage uploaded in thread 107103
|
|

Thread upload14 viewsImage uploaded in thread 125680
|
|
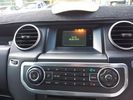
Thread upload0 viewsImage uploaded in thread 108208
|
|
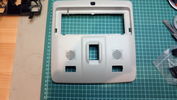
Roof console with cutout for switch(es)60 views
|
|
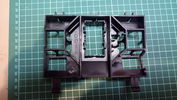
Modified insert of roof console47 views
|
|
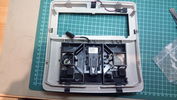
Rear side of finished roof console54 views
|
|
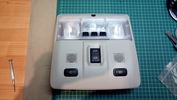
Roof console with mounted switches148 viewsOne switch is for switching the R-750 spot lamps, the other is for additional external lighting using a second Relay kit provided by OEM Plus.
|
|

A-Pillar 117 viewsWires run from the roof console along the A-pillar
|
|
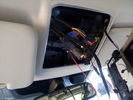
Wires installed for roof console123 views
|
|

Removal of centre console items on my HSE299 views
|
|
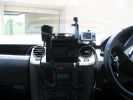
369 viewsHome made console, GPS in clip off mount, 29Mg radio,dual battery moniter,long rang tank gauge & elecric switches.A clip out removable console with no screws.PS also a camera mount.
|
|
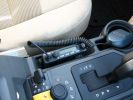
UHF Radio488 viewsGME TX3400 head mounted in console
|
|

Disco 4 Centre Console11 views
|
|

Disco 4 MY2012 spec and console images53 views
|
|
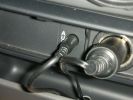
498 viewsRear iPod cabling solution. Notice the hole where the cables descend into the rear of the center console.
|
|

Centre Console Phone Cradle538 views
|
|
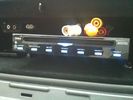
DVD Player63 viewsVeba DVD Player fitted into top glove box, AUX in for connection of Ipod, Games COnsoles etc. Remote control with sensor mounted by rear view mirror.
|
|

149 viewsThis is a JPEG Taken from the CAD drawing, it has nothing to do with NEXT BASE OR LAND ROVER,FORD TATA, its just a FUN Model and not to be used.......
|
|

Thread upload17 viewsImage uploaded in thread 170233
|
|
Thread upload18 viewsImage uploaded in thread 170233
|
|

Floor Console Upper Panel102 views
|
|

Interior Trim471 views
|
|

Floor Console99 views
|
|

Interior Trim166 views
|
|

Floor Console3 viewsFloor Console
|
|

Floor Console Upper Panel65 views
|
|

20 views
|
|
Thread upload1 viewsImage uploaded in thread 205170
|
|

Front Center Console Removal22 views
|
|
Thread upload0 viewsImage uploaded in new thread
|
|

glass frames and consoles36 views
|
|
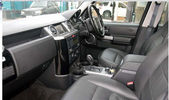
New Dash59 viewsIs this black plastic stuck on or is it actually part of the dash console cover?
|
|
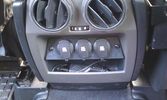
12V outlets for the 2nd row13 viewsI used a part of the old front (which was broke) to cut out a 'mount' for three 12V outlets for the second row.
The outer outlets are switched on whenever the ignition is on as I used the connector that originally was out there.
The middle outlet is connected to the auxiliary battery and is switched on/off through a rocker switch in the central console. (other picture)
This middle one is going to be used for our small fridge that usually resides just there when we're on holiday.
|
|

An extra 12V outlet16 viewsOn the passenger side, I added a 12V outlet which is fed through the fuse box in the rear and adds as such an outlet for whatever charger we don't want to have lingering around around the central console.
The USB charging outlets are visible as well :)
|
|

64 viewsAdded a lead coming from the 12V outlet in the front console. That one is activated only when the ignition is set to I. So that's actually what is referred to as accessories in the manual of the radio. The OEM connector for the head unit did not have any similar lead. The yellow is permanent 12V, the red (on the converting OEM 2 ISO) is the accessories 12V.
|
|
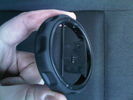
Armrest vent (back of console)39 views
|
|
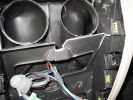
DVD Headrest Install Console Removal133 views
|
|
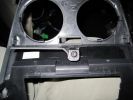
DVD Headrest Install Console Removal126 views
|
|
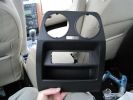
DVD Headrest Install Console Removal127 views
|
|
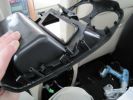
DVD Headrest Install Console Removal128 views
|
|
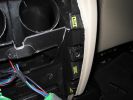
DVD Headrest Install Console Removal121 views
|
|
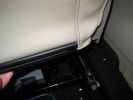
DVD Headrest Install Console Removal126 views
|
|
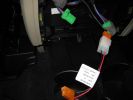
DVD Headrest Install Console Removal125 views
|
|
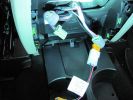
DVD Headrest Install Console Removal127 views
|
|
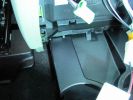
DVD Headrest Install Console Removal130 views
|
|
DVD Headrest Install Console Removal122 views
|
|
DVD Headrest Install Console Removal145 views
|
|

centre console109 views
|
|
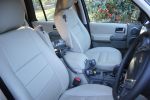
766 viewsTemporary plcement of radios until overhead console is available
|
|
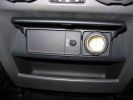
12v Socket in centre console333 views
|
|

Centre Console removal20 views
|
|

Centre console and cubby storage removed for wiring loom of rear seat entertainment19 views
|
|
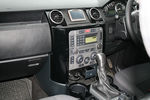
Centre console in black62 viewsnew mount installed for tom tom, thanks to Brucey for the use of his skills
|
|
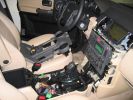
This is what it looks like under the center console at the beginning of my project.467 views
|
|
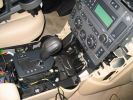
Removing the center console in preparation of installing the Drive+Play components.444 views
|
|
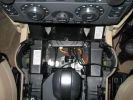
Here\'s a view of the Drive+Play "brain" which I mounted in the empty space in front of the gear selector.650 viewsI ran the power and audio cables to the rear of the center console in order to tap into the 12 volt power and "Aux" adapter. When you're sitting in the back seat, you don't see any cables whatsoever. My entire goal was to make it look as factory original as possible.
|
|
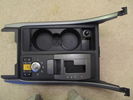
RRS Console45 views
|
|
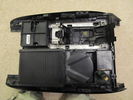
RRS console top back35 views
|
|
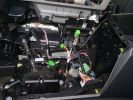
396 views
|
|

instrument panel and console45 views
|
|
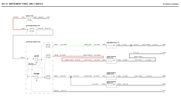
Thread upload15 viewsImage uploaded in thread 164172
|
|
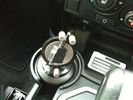
Ipod Lead73 viewsIpod Integration kit - lead comes out of dash at bottom of console.
|
|
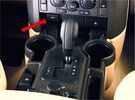
Disco 3 centre console11 viewsMissing cover
|
|

LR3 Air Conditioner Drain Tubes behind centre console2131 viewsThis shows the two air conditioner drain tubes located left and right under the radio stack.
The tube on the left side, (steering wheel side, LHD), disattached itself and the carpet on the floor under the gas pedal etc became soaked. I think rain water from outside that comes in the outside cowl vents also exits via the tubes as I first noticed the carpet was wet after parking outside during a big rain storm.
It was relatively easy to slide up and reattach the rubber hose that runs from the rectangular shaped plastic discharge hole(s) of the heater "pan" down along the transmission hump area and thru the floor pan. There is a hose on each side of the transmission hump, but only one hose had let go on my 3. The rubber hoses just slide over the rectangular plastic openings of the two heater housing drain outlets.
To get at each drain hose, remove the vertical sort of triangle carpeted piece below each side of the radio stack. The triangles of carpet will just pull away as each is held on with those metal U clips Land Rover so likes. Dislodge each triangle at least sufficiently to get ones hand in to slide the rubber hose back on.
You will rarely see AC water on the ground as the front drains pour onto a metal underside protection skid plate and the rear drain onto the top of the left rear muffler.
|
|
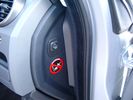
Air Suspension ECU Fuse 35P cut off switch.3820 viewsThis shows the SPST rocker switch mounted in the blank plate installed in lieu of a manual passenger side air bag shut down switch - now automatic via passenger seat pressure switch. Fuse 35P (5 amps) is located in the interior fuse box behind the lower glove box and protects the ignition power supply to the Air Suspension ECU. When the SPST switch is moved to the OFF position, the RAISE /LOWER switch on the centre console is not powered, and hence does not function. As such, some signals from the wheel height sensors and CPU are ignored. By itself however, removing F35P will probably not stop the 3 from self dropping, particularly after the engine is turned off.
Fuse F3E, (5 amps), located in the engine bay fuse box by the starting battery protects the circuit that provides feedback to the Air System ECU indicating that the Compressor Relay has successfully operated and that the Air Compressor is or should be operational, can also be removed, (but is probably not totally necessary), as it gets its power thru F26E. Hence Fuse F26E, (20 amp), also located in the engine compartment fuse box is the fuse that must be removed. This fuse protects the circuit that provides full time battery power to the Air System ECU. When in place, current thru the fuse powers the periodic re-levelling action, (usually lowering a bit with that brief air release noise), that often occurs when the vehicle is parked and the engine is off.
Removing F26E fuse will stop the auto levelling action and also inhibit any other down to the stops signals, (engine running or not). When F26E is removed, no power can flow thru to F3E, hence removing F3E is more for insurance than an absolute requirement. The same with F35P, removing F26E removes primary full time power from the Air Suspension ECU, and hence removing the F35P fuse should not really be required either as long as F26E has been removed.
|
|

Console Gear Selector Wiring Diagram960 viewsThis is a 3 page wiring diagram centered around the console located gear selector.
|
|

Thread upload6 viewsImage uploaded in thread 126959
|
|

Thread upload6 viewsImage uploaded in thread 126959
|
|
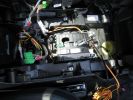
220 viewsAnother shot of the floor console.
|
|
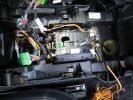
219 viewsThe inner workings of the floor console. You can see the inline fuse holder on the left, which then connects to the chill box connector.
|
|
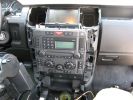
233 viewsConsole Trim Removed, as well as the top of the floor console.
|
|
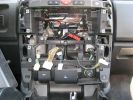
261 viewsPicture of the center console minus IHU and Climate Control. Turns out there is very little room behind there, which is really a pain in the ass.
|
|
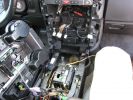
246 viewsProceeding with console removal.
|
|
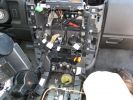
253 viewsProceeding with the console removal.
|
|
286 viewsPicture of the floor console removed. The wiring moving along from the bottom of the picture forward is power from the rear power socket, and audio from the aux port.
|
|
280 viewsHere is the center console with the support pulled away. You can see the wiring for the HD and XM radios working their way through the console and over to the lower glove box.
|
|
255 viewsThe console mostly re-assembled. You can see the dremel notch I made for the control cables, as well as the slack in the power and audio cables.
|
|
Possible gamesconsole view camera mount107 views
|
|

Thread upload20 viewsImage uploaded in thread 92518
|
|
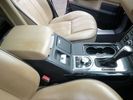
Thread upload3 viewsImage uploaded in thread 172661
|
|
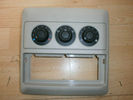
Thread upload26 viewsImage uploaded in thread 92518
|
|

Thread upload23 viewsImage uploaded in thread 92518
|
|
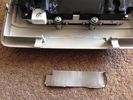
Thread upload23 viewsImage uploaded in thread 92518
|
|
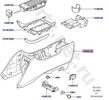
RRS console base34 views
|
|

RRS console Back32 views
|
|
|
|
|