| Last additions - mjennings's Gallery |
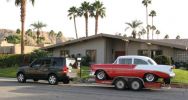
Towing my 56 Chevy264 viewsI towed my Classic Chevy about 650 miles from Palm Springs to Reno, including over the Sierra Nevada mountain pass (7,085 feet (2160 meters)) and the LR3 pulled very well.20 Dec 2006
|
|
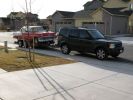
Towing my 1956 Chevy206 viewsTotal weight was around 5,500 lbs.20 Dec 2006
|
|
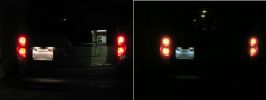
I replaced the incadescent license plate bulbs with new 6-LED bulbs for a cleaner look.420 viewsI was following a 2006 Lexus ES and noticed their license plate bulbs are now using LEDs, so I thought the same thing would look good on the rover. 23 Feb 2006
|
|
Comparison of the new white LED bulb and the existing incadescent bulb that I replaced.374 views23 Feb 2006
|
|
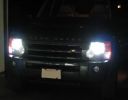
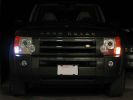
Now the small marker lights have the same bright white/blue color as the headlamps.352 views23 Feb 2006
|
|

Close up of the 6-LED bulb that I used to replace the standard bulb.372 views23 Feb 2006
|
|
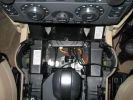
Here\'s a view of the Drive+Play "brain" which I mounted in the empty space in front of the gear selector.650 viewsI ran the power and audio cables to the rear of the center console in order to tap into the 12 volt power and "Aux" adapter. When you're sitting in the back seat, you don't see any cables whatsoever. My entire goal was to make it look as factory original as possible.23 Feb 2006
|
|
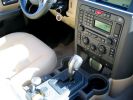
I have the screen lightly wedged between the rubber mat and the bottom of the ashtray567 viewsI plan to create a wooden block to attach the screen to and use foam tape (sticky on both sides) to hold it in. However, so far it hasn\'t moved and the ashtray is completely useable (for my parking meter quarters).23 Feb 2006
|
|

Daytime view of the Drive+Play unit.466 views23 Feb 2006
|
|

This is a night photo of the completed installation. The controller and screen brightness can be adjusted.499 views23 Feb 2006
|
|

This is where my iPod will live, unless I need to take it out to add songs or update playlists.492 viewsI installed a rubber grommit between the cable and the hole to keep it from rubbing on the sharp plastic.23 Feb 2006
|
|
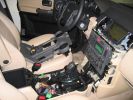
This is what it looks like under the center console at the beginning of my project.467 views23 Feb 2006
|
|
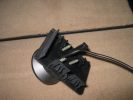
I used the Drive+Play screws supplied with the unit.370 views23 Feb 2006
|
|
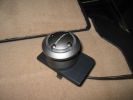
This is the controller unit that I attached to the emergency brake pop-out plate.386 views23 Feb 2006
|
|
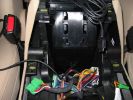
This is the hole that I drilled to get the iPod cable into the center storage area.467 viewsThe hole needed to be this large as both ends of the cable are large. 23 Feb 2006
|
|
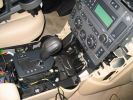
Removing the center console in preparation of installing the Drive+Play components.444 views23 Feb 2006
|
|
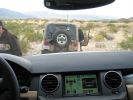
315 views03 Jan 2006
|
|
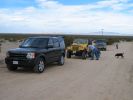
Just starting the run with my 4x4 group.309 views03 Jan 2006
|
|

272 views03 Jan 2006
|
|

263 views03 Jan 2006
|
|

253 views03 Jan 2006
|
|
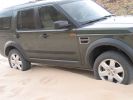
At this point I was having a hard time getting up the hill, but was slowly managing.315 views03 Jan 2006
|
|
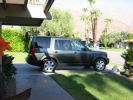
Photo taken the day I got my car home.363 views03 Jan 2006
|
|
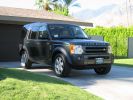
Antoher photo taken the day I got my new car home.335 views03 Jan 2006
|
|
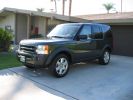
Photo taken the day I got my car home.328 views03 Jan 2006
|
|
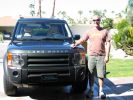
Proud new owner of my LR3356 views03 Jan 2006
|
|
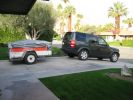
Trying out the trailer hitch for a 'dump run'.344 views03 Jan 2006
|
|
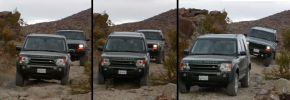
Smooth off road ride!399 viewsThis was the first time I took my LR3 off-road. I traded my Jeep Wrangler for this vehicle so I was used to heading into the rugged mountains. I was very amazed (as were my friends in their Jeeps) just how level the LR3 remained as I navigated over various dips and mounds. You can see the Cherokee behind me couldn't say the same.03 Jan 2006
|
|
|
|