| Last additions - GVIF Interface Unit |

hids4u blackvue hd unit black box153 views19 Sep 2011
|
|

Reversing camera sat nav land rover instructions hids4u506 viewsReversing camera retrofit on land rover lexus jaguar and many other cars. Display image on the sat nav lcd screen16 Jun 2011
|
|

map light138 views03 May 2011
|
|

reversing camera discovery 3330 views03 Jan 2011
|
|
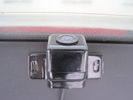
reversing camera ccd195 views03 Jan 2011
|
|
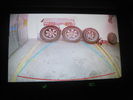
land rover reversing camera 172 views03 Jan 2011
|
|
reversing camera204 views03 Jan 2011
|
|
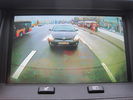
rear view camera hids4u sony ccd200 viewswide angle as can be seen - no blind spots03 Jan 2011
|
|
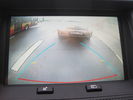
reversing camera hids4u162 views03 Jan 2011
|
|
revesing camera hids4u sony ccd197 viewswide angle for blind spot 03 Jan 2011
|
|
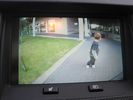
D3 camera HIDS4U via GVIF214 views03 Oct 2010
|
|
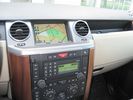
GVIF toggle button looks like oem378 views20 Jun 2010
|
|
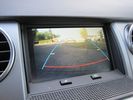
reversing camera image on LCD screen228 views20 Jun 2010
|
|
CMOS camera image242 views20 Jun 2010
|
|
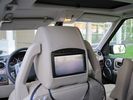
on head rest and sat nav screen198 views23 May 2010
|
|
close up306 views25 Apr 2010
|
|
better image318 views25 Apr 2010
|
|
image on screen320 views25 Apr 2010
|
|
all done364 views25 Apr 2010
|
|
hole drilled and camera just pushes in329 views25 Apr 2010
|
|
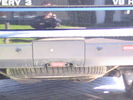
camera all installed - same size as a sensor384 viewscant go in centre of panel due to towing hoop25 Apr 2010
|
|
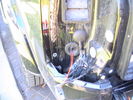
dead easy to get cables from boot to rear light cluster through existing grommets344 views25 Apr 2010
|
|
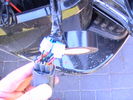
i took power for camera and the reversing signal from the main loom with scotch locked365 viewstape them up otherwise they will corrode. this area gets wet and dirty25 Apr 2010
|
|
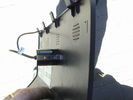
camera installed in towbar cover.363 viewsthere is a plug on the power and video connector so can easily be removed for towing25 Apr 2010
|
|
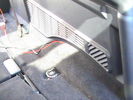
no need to remove this trim - cables easily go underneath them325 views25 Apr 2010
|
|
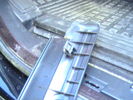
remove metal clips from floor panel and reinstall on to the plastic trim295 viewsIf you leave the clips in place and try to force the trim back in the clips are knocked through the floor unit and it takes an hour to get them out!!25 Apr 2010
|
|
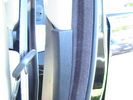
make sure rubber/fleece part are on outside of trim284 views25 Apr 2010
|
|
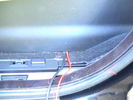
12volt power from reverse light plus Video cable routed to from rear to under seat335 views25 Apr 2010
|
|
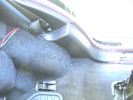
12volt power from reverse light plus Video cable routed to from rear to under seat320 views25 Apr 2010
|
|
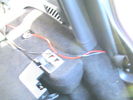
12volt power from reverse light plus Video cable routed to from rear to under seat314 views25 Apr 2010
|
|
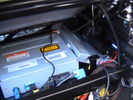
Interface unit hidden at side of the dvd player435 views25 Apr 2010
|
|
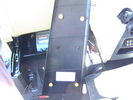
panel removed plugs visible352 views25 Apr 2010
|
|
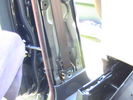
Removed side panel - 4 plastic plugs pulls off easy328 views25 Apr 2010
|
|
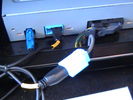
Output from DVD player - Input to Interface Unit - and output from interface to LCD336 viewsAll connected up25 Apr 2010
|
|
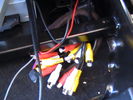
AV in and Output cables378 views25 Apr 2010
|
|
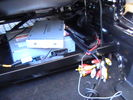
interface unit sat on dvd - cables pulled under seat frame409 views25 Apr 2010
|
|
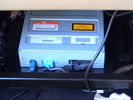
Back of DVD player as original connectors - unplug middle blue one out put to lcd399 views25 Apr 2010
|
|
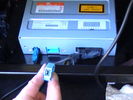
Original Output from DVD player - to LCD Screen388 views25 Apr 2010
|
|
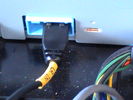
Output from DVD player - Input to Interface Unit325 views25 Apr 2010
|
|
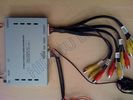
AV Inputs and Outputs GVIF Interface Unit343 views22 Apr 2010
|
|
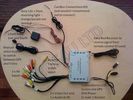
How to connect the GVIF to the car466 views22 Apr 2010
|
|
|
|
|
|
|