Maintenance stuff |
 |
| TITLE |
+ |
- |
| FILE NAME |
+ |
- |
| DATE |
+ |
- |
| POSITION |
+ |
- |
|
|

New rear brakes24 views
|
|

Old front lower wishbone26 views
|
|

Sawn off bush18 views
|
|

15 views
|
|

Sawn right thru the bolt and bush sleeve20 views
|
|

Managed to hold the rubber bit with an old spanner23 views
|
|

It's finally off36 views
|
|

4 new General Grabber ATs suppled by these guys in Colchester36 views
|
|

New General Grabber ATs fitted today (14.1.2013)26 views
|
|

Old black stuff comes out13 views
|
|
Draining the last bit out of the sump15 views
|
|

Weep around the Mechatronic Plug....12 views
|
|

Millers Millermatic DM Premium ATF going in via the funnel13 views
|
|

The good stuff going into the oil cooler11 views
|
|

Using the stepladder method as approved by Oswiperus!15 views
|
|

Using the Hawkeye to check transmission temp - getting there...13 views
|
|
Checking the final level at the drain plug14 views
|
|
EGR replacement29 viewsUndoing the right hand valve is much easier that the left one.....
|
|
EGR replacement17 viewsThese horrible T30 bolts hold the original onto the EGR cooler. Replaced with nice new M8x16mm bolts
|
|
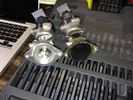
EGR replacement20 viewsNew one v old one!
|
|
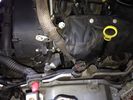
EGR replacement19 viewsLeft side - where the hell is it?
|
|
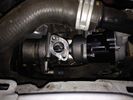
EGR replacement19 viewsNew valve in place. Looking nice and shiny!
|
|
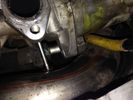
EGR replacement21 viewsThe left EGR valve is tight up against the turbo boost pipe. This make insertion of the long bolts difficult!
|
|
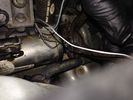
EGR replacement16 viewsBack of left EGR cooler was a swine to replace the clip. Bound it with wire before using pincers to clip together.
|
|
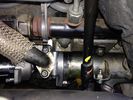
EGR replacement21 viewsNew one in place. Old T30 bolts used on top replacing old rusty ones. Good access here!
|
|
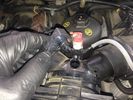
EGR replacement14 viewsWhile doing stuff on the engine. Good idea to clean yer MAF. Brake cleaner and air used to get it clean again
|
|
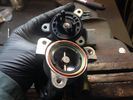
EGR replacement19 viewsOpening the actuator for inspection.
|
|
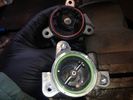
EGR replacement19 viewsOpening up the actuator reveals that all was OK. Even the ball races are OK
|
|
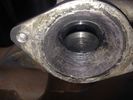
EGR replacement17 viewsOld value with soot cleaned off with wire brush!
|
|

EGR replacement17 viewsCarbon build up under the flange in the sliding shaft
|
|

19 views
|
|

New pump and seal15 views
|
|

13 views
|
|

New pump showing reinforced casting of the tensioner mount13 views
|
|

New pump showing reinforced casting of the tensioner mount10 views
|
|

New cam belt, idlers and tensioner9 views
|
|
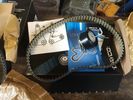
New Dayco HPFP belt and tensioner11 views
|
|
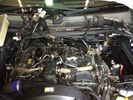
Wiring looms and cooling pipes need to be moved out the way13 views
|
|

Rear belt cover11 views
|
|
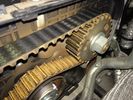
Rear HPFP belt and tensioner12 views
|
|

Remove all the stuff to reveal the cam belt and gear11 views
|
|
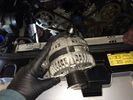
Alternator needs to come out17 views
|
|
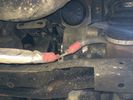
Cable must be removed first10 views
|
|
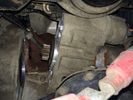
Starter only needs to be moved out of the way13 views
|
|

Flywheel locking tool in place12 views
|
|
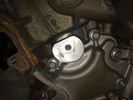
Old pump design has a weak point on the tensioner mount12 views
|
|
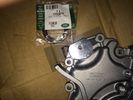
New pump design has the reinforced casting for the tensioner mount13 views
|
|
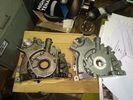
Old oil pump and new oil pump comparison17 views
|
|
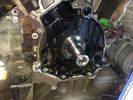
Old oil pump removed14 views
|
|
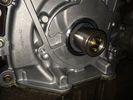
New oil pump in place12 views
|
|
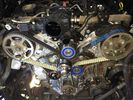
New belt, idlers and tensioner in place10 views
|
|
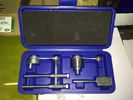
Britpart cambelt locking kit10 views
|
|
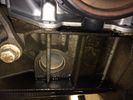
Damages the first seal causing it to leak11 views
|
|
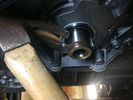
How to get a leaking seal out without causing damage11 views
|
|
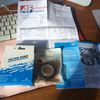
Advanced Factors supply oil pump seal from Victor Reinz with an insertion sleeve14 views
|
|
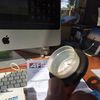
Plastic insertion sleeve10 views
|
|

Insertion sleeve fits onto the end of the crankshaft14 views
|
|
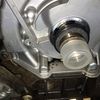
The new seal slides easily off the plastic insertion sleeve onto the crankshaft11 views
|
|
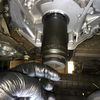
Used a large impact socket to tap the seal in place12 views
|
|
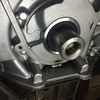
New seal in place on new oil pump11 views
|
|

100nM is not that tight.....11 views
|
|
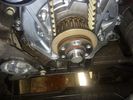
Important to add the + 90 deg marked at 12 o'clock to assist11 views
|
|

Crank bolt tightening to 100nM + 90 deg10 views
|
|

17 views
|
|

Turbo Change16 viewsWhere is it?!
|
|

20 views
|
|

Turbo Change15 viewsGoing Caving
|
|

18 views
|
|

Turbo Change15 viewsDrilling out the old studs
|
|
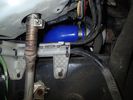
Turbo Change21 viewsTurbo hoses were upgraded to silicone jobbies
|
|
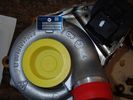
Turbo Change18 viewsNice shiny new Borg Warner turbo
|
|
Lights on dashboard!25 views
|
|
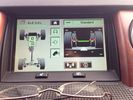
Display showing suspension lowering!24 views
|
|
|
|
|
|
|